Where to start
One of the questions we are asked the most is how to start into Eurorack modular.
To answer to that in the best and brief way possible we made this video. We hope it's helpful and gives you a basic and simplistic overview about how you can start your sound design journey with a eurorack modular system.
How To Start Your First Eurorack Modular Synthesizer
1. Case
The first step is to choose a Eurorack case that already offers a built-in power supply.
You can also check unpowered cases and buy Power supply and Bus-boards extra.
If you're into DIY, you could search for some Box or suitcase that fits the size you need and find a way to fix the mounting Rails.
Or you can build your own from scratch.
The capacity of any modular case is measured in units called HP. It stands for “horizontal pitch.” One HP is 0.2 inch or 5 mm.
While choosing your case, it's important to remember, that the total HP of your modules can’t exceed the maximum space in your case, so plan it wisely.
Most cases include the module mounting rails, but you can also
purchase them separately.
2. PowerSupply
It can be very helpful to choose a case that comes with a power supply.
Eurorack uses a standard power format with +12v, -12v and +5V power lines. If you’re choosing your own power supply, keep its total amperage in mind as you’re selecting modules. For all the modules you’ll be using, check the total power consumption and make sure your power supply can provide more than that.
There is cheap Power solutions like Meanwell, which can work just fine, but you might experience Voltage fluctuations or noise. In order to prevent that we advise to choose better quality Power supplies like doepfer or other well known brands.
The modules will connect to a bus board via a 10 or 16 pin power cable, depending on the design of the module. Our Cubusynth bus board offers connectors for up to 16 modules.
3. Oscillator or Sound Source (VCO)
Your initial sound could come from an oscillator or other sound generators. Your VCO is going to generate a continuous full-voltage signal.
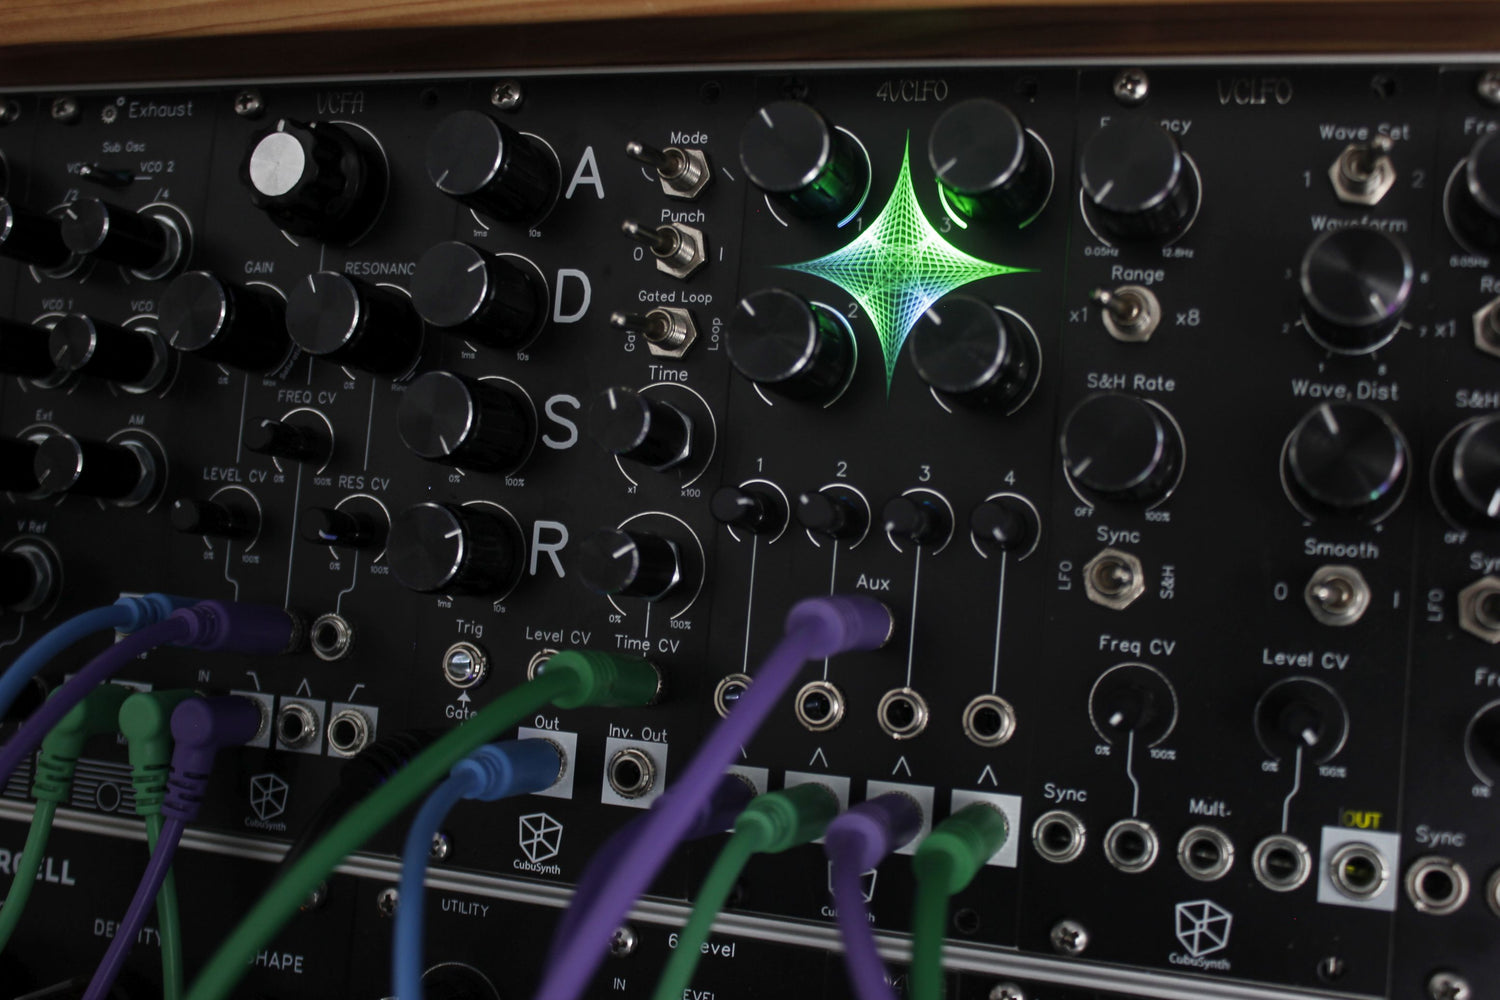
The Cubusynth Engine features 2 VCO´s in one module, it has 14 different outputs, giving you many possibilities of creating your sounds.
4. VCA / VCF
Much like the voltage-controlled oscillator (VCO) the voltage-controlled amplifier or VCA is an essential piece of a Eurorack rig. If you want to control the volume of the Sound or CV signal, you'll need at least one VCA; Our Dual Vintage VCA features two of them.
With a VCF you can shape the sound even more by filtering the frequencies of the incoming signal. The CubuSynth VCFA combines 3 Filter modes with a VCA, which saves you an extra module.
6.Sequencer / CV MIDI Interface
Now you need to find out how to trigger your modules. For example with a MIDI interface or a DC-coupled Audio interface from your computer, playing in real time with a controller, or using some form of sequencer.
By using a DC-coupled Audio Interface you will save space in your rack and don't need an extra module for Midi conversion or sequencing.
7. Patch cables
Patch cables form the connections between your Eurorack modules.
Ensure you purchase cables of the correct length to reach the terminals you want.
Eurorack patch cables are similar to the small headphone plugs, but with one audio channel (mono) as opposed to two (stereo).
You’ll be using these cables more often than many other cables in your studio, so make sure you get good cables that will stand up to long-term use and abuse.

Conclusion
If you decide to start your journey into modular, think about if you want to use it at home or on a live performance, witch kind of sounds you want to generate and your budget.
keep in mind that it can easily get expensive so its important for you to focus in what your synth should be able to do, no matter if its a normal synth voice, an ambient drone or drum machine or a crazy glitch generator.
We hope you found this information helpful and now you have an idea where to start your eurorack synthesizer
